HOW TO APPLY SELF-ADHESIVE REMOVABLE PEEL AND STICK WALLPAPER FOR LONG-LASTING RESULTS?
With the right preparation and tools, temporary wallpaper is easy to hang. Adhere to our step-by-step instructions for a polished and professional result
Traditional wallcoverings can be substituted with peel-and-stick wallpaper as an inexpensive, do-it-yourself option. If you apply the self-adhesive backing incorrectly, you may simply rip it off and start over since no messy paste is needed. Peeling off the backing and attaching temporary wallpaper to the wall is all that is required for installation, though. For it to stick correctly to the wall, you'll need to take some preparatory steps. You may get the smoothest finish possible with the aid of a few tools and techniques. To apply peel-and-stick wallpaper properly and get long-lasting, bubble-free results, follow these detailed instructions.

See our beautiful selection of peel and stick wallpaper here...
Be aware that peel-and-stick wallpaper often sticks best to smooth, eggshell, satin, or semi-gloss finished walls. To make sure the product will adhere to the sort of walls you have, check the manufacturer's instructions for the wallpaper.
Carefully measure the area you intend to cover in removable wallpaper to ensure you buy the right amount. Purchase a little bit extra wallpaper than you anticipate needing in order to account for mistakes and challenging spaces like windows, doors, or little nooks.
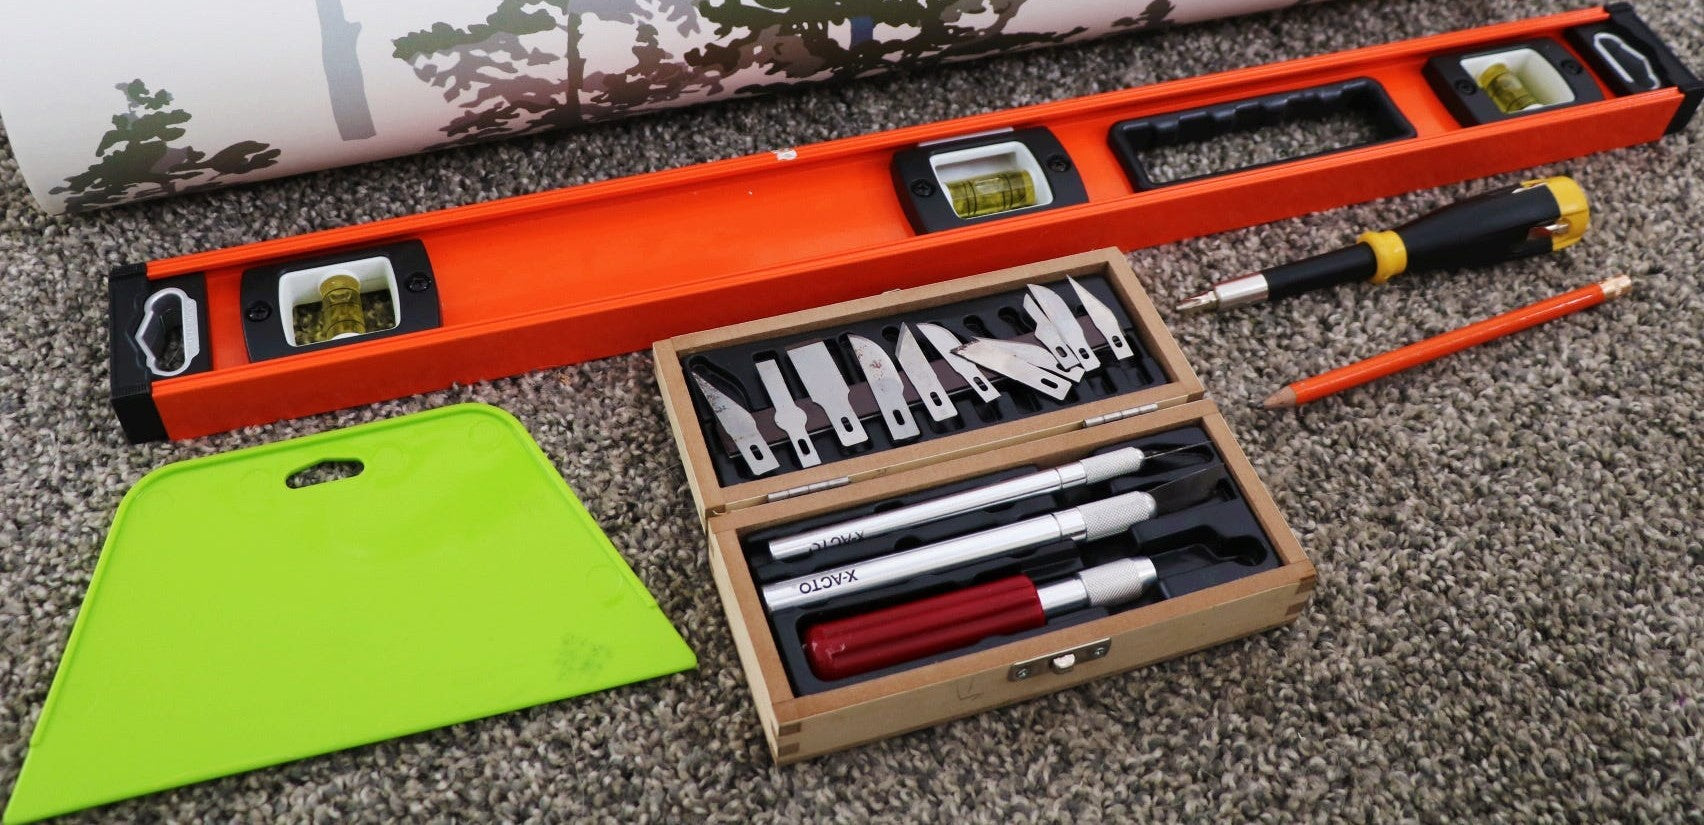
Step 1: Gather Your Tools
- Sponge or cloth
- Mild cleaner
- Measuring tape, ruler or straight edge
- Straightedge
- Pencil
- Peel-and-stick wallpaper
- Squeegee (Plastic smoothing tool)
- Sharp utility knife
- Step stool or ladder
- Step-by-Step Directions

Step 2: Prepare Your Walls
To properly remove light switch plates and outlet covers from the area you intend to cover, turn off the power. The surface of the wall should next be cleaned by wiping it down with a mild, non-abrasive cleanser with a damp sponge or towel. The surface needs at least 24 hours to properly dry. Check the manufacturer's directions. Some temporary wallpaper should also be adapted to the environment of the room.
To prevent flaws from showing through your wallpaper, make sure your wall is fully dry, flat, free of indentations, bumps, dirt, cracks, and loose paint as well as having no dark or light areas. Remove any fixtures, bookcases, hooks, or drapes that might interfere with the installation of your wallpaper.

Step 3: Check Your Wallpaper
Make sure you have all the panels you'll need to cover your wall. Lay each one out on the floor in the correct order, referencing the number on the panel, and make sure the joins line up. Keep in mind that we have a 1-inch overlap (which you can choose to remove afterwards) and that we provided buffer to ensure there isn't a deficit.
Step 4: Make a Guide for Your First Piece
It is important your first piece is vertically straight.
- Measure the width of your peel and stick wallpaper.
- Then, using a pencil, transfer that measurement on your wall.
- Draw a line in accordance with your marks from the ceiling to the baseboard (or the region you're covering) using a straightedge and a level.
This guide will help you apply the first strip of wallpaper in a straight line.

Step 5: Apply First Peel-and-Stick Wallpaper
Starting at the highest place where you'll be wallpapering, peel off roughly 12 inches of the adhesive backing and align the wallpaper with your lines. Peel off the remaining backing while pressing and smoothing the wallpaper against the wall from top to bottom. Run a plastic smoothing tool along the wall in downward motions to eliminate air bubbles. Use your straightedge and a small utility knife to gently cut along the baseboard and remove any extra after the entire piece has been glued to the wall.
Step 6: Match Patterns and Repeat to complete
To achieve a continuous appearance, line up the pattern of the wallpaper while applying subsequent panels from left to right and top to bottom.
Smooth over with a squeegee removing any air bubbles or creases.
Continue hanging your remaining panels until all your wallpaper panels have been installed.

Step 7: Work Around Windows and Outlets
Let the wallpaper overlap any window frames, door frames, or outlet when you come to them. Using a straightedge and utility knife, trim and remove any extra material once the piece has been applied. The paper should then be smoothed against the wall all the way around the outlet or window. Use a utility knife to carefully cut away the paper covering the aperture while keeping the power off for electrical outlets and switch plates. The switch plate or outlet cover will conceal the majority of flaws, so don't worry about the rough edges around the hole. For a seamless appearance, you can also cover flat plates with paper.

Step 8: Check for Air Bubbles
Use a squeegee to gently smooth over any air bubbles or creases. Remember that you can adjust your wallpaper by gently tugging it upwards against itself at 180 degrees if there are too many air bubbles or creases.
Use the point of your utility knife or a pin to make a tiny hole in the center of any remaining air bubbles. After that, smooth the wallpaper by pressing down to let out the trapped air.
Step 9: Trimming
You are ready to trim any extra buffer once you are satisfied with how all of your panels are positioned and have looked for air bubbles or creases. As you cut away the extra wallpaper, use your ruler or square edge to align it with the skirting boards or architraves of your wall.

Step 10: Admire your handywork
Now take a step back and take in the magic and beauty of the stunning new wallpaper you just put up. Enjoy!

How To Hang Peel And Stick Wallpaper ?
How To Install Peel And Stick Wallpaper ?


